
As a nurse, you quickly learn that some of the most uncomfortable symptoms for a patient aren’t necessarily the most complex to treat. Abdominal distension caused by trapped gas—what we clinically call flatulence—is one of those issues. It can cause significant pain, restlessness, and a feeling of breathlessness due to pressure on the diaphragm.
When other nursing interventions like repositioning or ambulation aren’t enough, we turn to the insertion of a flatus tube (or rectal tube). It’s a straightforward procedure, but one that requires a gentle hand, professional bedside manner, and a strict adherence to safety.
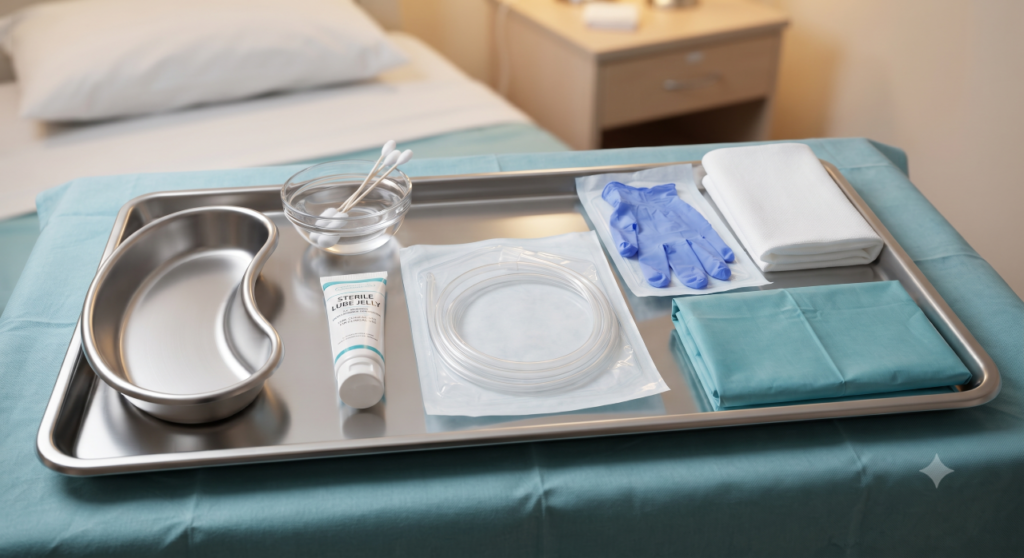
What is a Flatus Tube?
In simple terms, a flatus tube is a soft, hollow rubber or silicone tube designed to be inserted into the rectum to create a pathway for trapped gas to escape. It’s essentially a “pressure-relief valve” for the lower bowel.
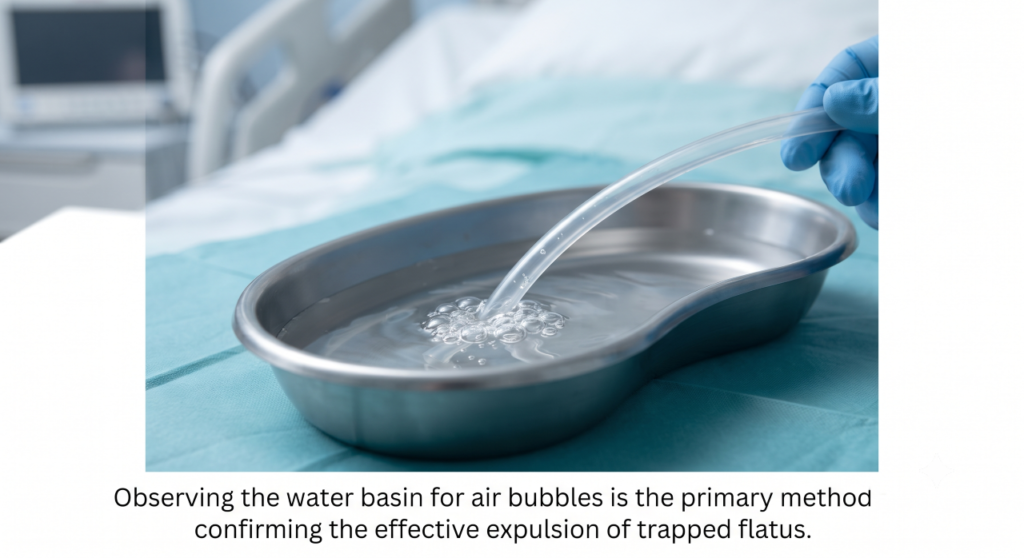
When and Why We Use It
We don’t reach for a flatus tube at the first sign of gas. We typically consider it when:
- A patient is suffering from significant abdominal distension that hasn’t responded to movement or medication.
- The patient is experiencing genuine pain or discomfort due to trapped flatus.
- We need to prepare the bowel before a retention enema or certain diagnostic procedures.
The Golden Rules of Safety
Before we even look at a tray, there are some non-negotiable safety standards:
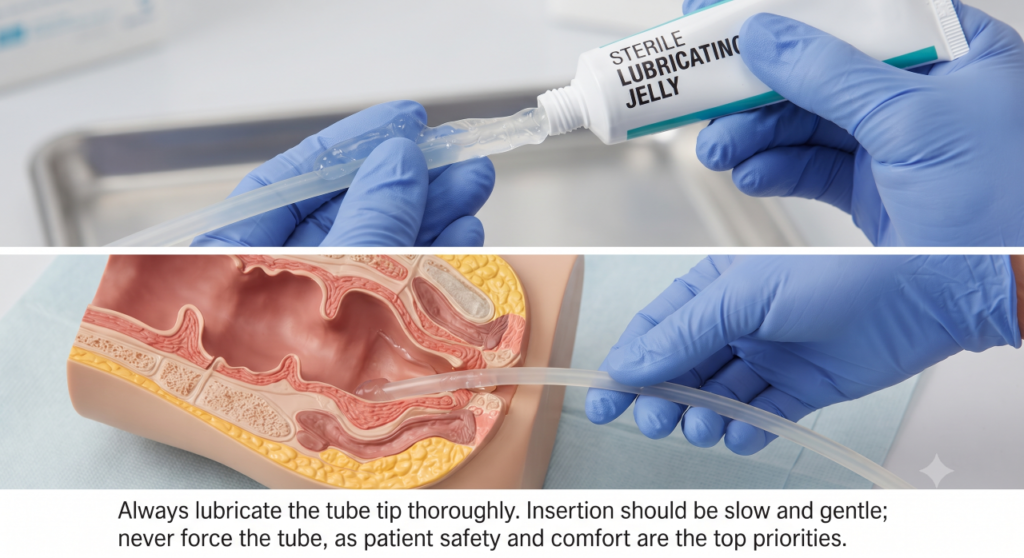
- Depth: Never force the tube. It should only be inserted 4 to 6 inches (10–15 cm) into the anal canal.
- Duration: This is critical—never leave a flatus tube in place for more than 30 minutes. Leaving it for extended periods can cause pressure necrosis and permanent damage to the anal sphincter, which can lead to incontinence.
- The Schedule: If the patient still requires relief, you can re-insert the tube, but you must wait at least 3–4 hours between sessions to allow the sphincter time to rest.
The Preliminary Assessment
A good nurse is always assessing. Before performing the procedure, check:
- The Order: Does the doctor have specific precautions? (e.g., recent rectal surgery, haemorrhoids, or cardiac history where vagal stimulation must be avoided).
- The Patient: What is their general condition? Are they confused, or can they follow instructions? Can they assist in turning?
- The Environment: Do you have everything you need within arm’s reach? Do you have privacy screens?
The Tray Setup
Preparation is key to a smooth procedure. Ensure you have:
- A clean flatus tube (appropriate size for the patient).
- A kidney basin (to catch any potential seepage).
- A water basin (to observe gas bubbles).
- Lubricant (water-soluble gel, not petroleum jelly if you are using latex).
- Cleaning supplies: wet cotton swabs, paper bag for waste, mackintosh/protective sheet, and a towel.
- Screen for privacy.
Step-by-Step Execution
- Preparation & Privacy: Explain exactly what you are going to do. Patients are often embarrassed by this procedure, so reassure them that this is a routine way to manage their pain.
- Positioning: Place the patient in the left lateral position (on their left side). This follows the natural anatomy of the sigmoid colon and makes insertion significantly easier.
- Insertion: Lubricate the tube well. Gently insert it 4–6 inches. Never force it; if you feel resistance, stop and ask the patient to take a deep breath.
- Monitoring: Place the free end of the tube into the kidney basin filled with a small amount of water. Watch for bubbles. Bubbles rising through the water are the clinical sign that gas is being successfully expelled.
- Timing: Keep the tube in place for about 20 minutes. If there are no bubbles after 20 minutes, the tube is likely not relieving the issue, and you should remove it.
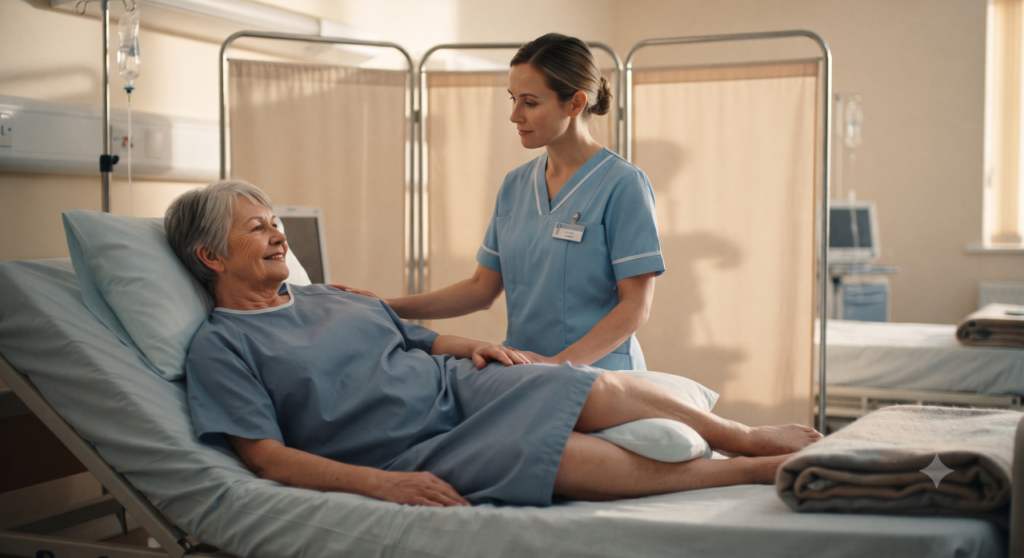
The After-Care
Once the 20 minutes are up, the procedure isn’t quite finished:
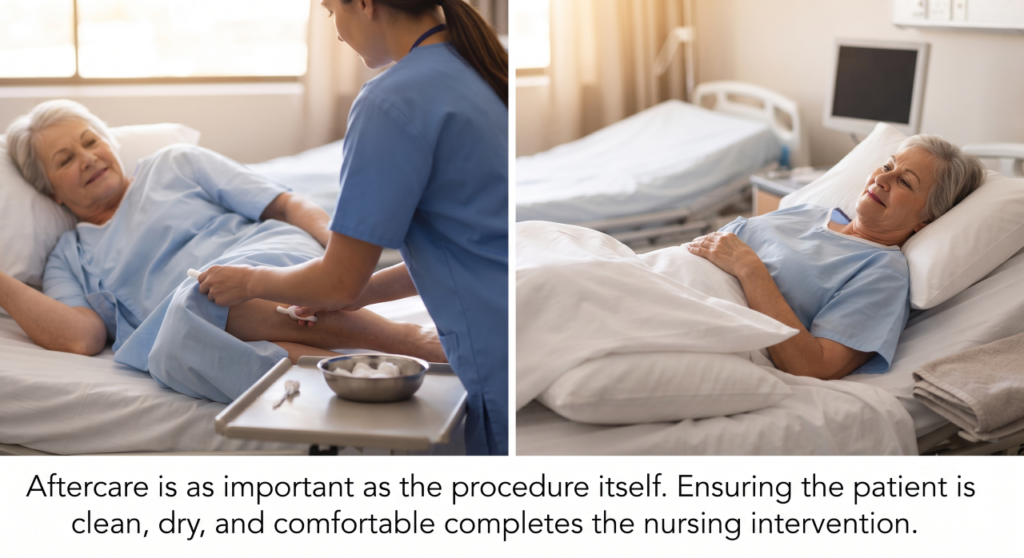
- Hygiene: Gently remove the tube and clean the anal area with fresh, wet cotton swabs. Ensure the patient is dry and comfortable.
- Repositioning: Help the patient find a comfortable position.
- Documentation: This is where many nurses miss a step. Record the procedure in the nursing notes, noting the amount of flatus expelled (e.g., “minimal,” “moderate,” or “profuse”) and, most importantly, the patient’s response (e.g., “Reported relief of abdominal pain”).
- Clean-up: Ensure all equipment is cleaned and sterilized according to hospital policy, or disposed of if it is single-use.